 Application Instructions
Implant placement is very simple for a veterinary professional THAT IS familiar with digital rectal exams in females.
Several steps should be simple to achieve successful placement DIUB, ensuring effective action of the implant.
The dose to be applied in each animal is composed of two devices (of different sizes - B1, B2 and B3 - as the animal reproductive development - uterine size):
 A and B are the two devices making up the dose. The head of B has a tapered end that differentiates it from A. The devices were implanted in each of the uterine horns. A and B are the two devices making up the dose. The head of B has a tapered end that differentiates it from A. The devices were implanted in each of the uterine horns. |
STEP 1:
A single applicator and plunger tube to be used in all applications, built in stainless steel and variable diameter depending on the size of the device. Store in aseptic conditions (eg povidone iodine, Iodine 10%, etc) Take the applicator and slide disinfected inner plunger backward. |
|
STEP 2:
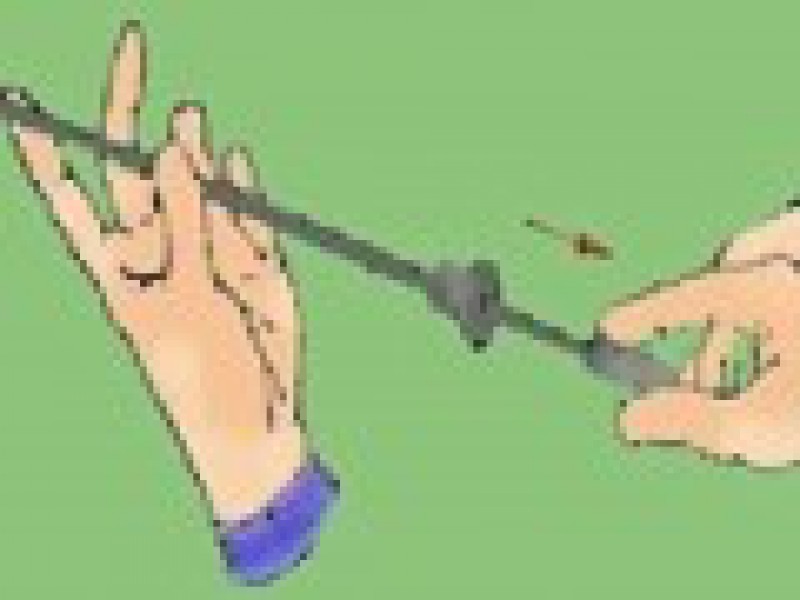
Take the device A, pressing her limbs, and insert it into the applicator tube, with the head of it out. |
|
STEP 3:
Once introduced in the tube, inserted the device B in the same way, until its conical head abuts the tube. |
|
STEP 4:
Dip the applicator tube containing both devices in an antiseptic solution. Optionally you can envaselinar the applicator tip. |
|
STEP 5:Do not keep the applicator loaded with prolonged devices or exposed to extreme temperatures ( 30 ° C) |
|
STEP 6:
Inset: Freeze the animal through a trap and lift the tail.
|
|
STEP 7:
Proceed to separate the labia and insert the applicator loaded. |
|
STEP 8:
Via rectal free hand, palpate the cervix and hold it between your thumb and forefinger. |
|
STEP 9:
Insert the applicator to reach the cervix (or cervical). |
|
STEP 10:
Search one of the horns of the uterus and enter the applicator to reach the bottom. |
|
STEP 11:
Placing the first device (B), making sure to open their tips to fix the horn. Check distension touch it. |
|
STEP 12:
Remove the applicator to the body of the uterus and reinsert it into the other uterine horn, reaching the bottom of it. |
|
STEP 13:
Place the remaining device (A) and remove the applicator definitely. |
|
STEP 14:
Release the animal. Important: The installation process should be guided by the free arm operator, introduced into the rectum of the animal. The operator guides the process, managing the cervix and the uterine horns. Special care should be taken to guide the applicator, not to pierce the wall of the uterus. |
Regresar